Working with Groups
- What is a ‘Master Group’?
- How do I find Login details?
- What is the group structure?
- How do I add more classes?
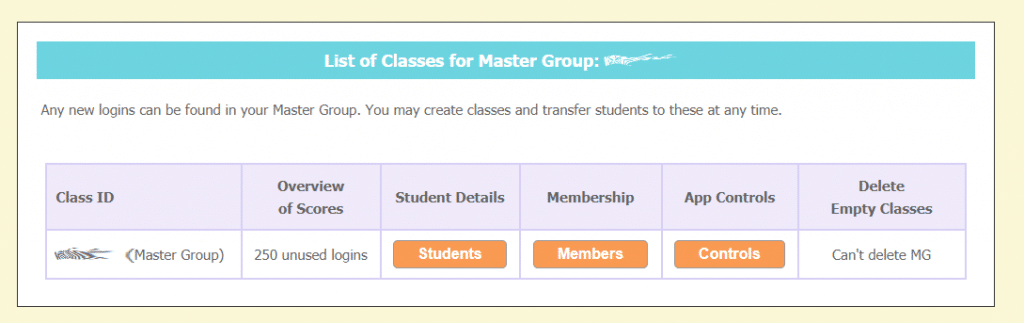
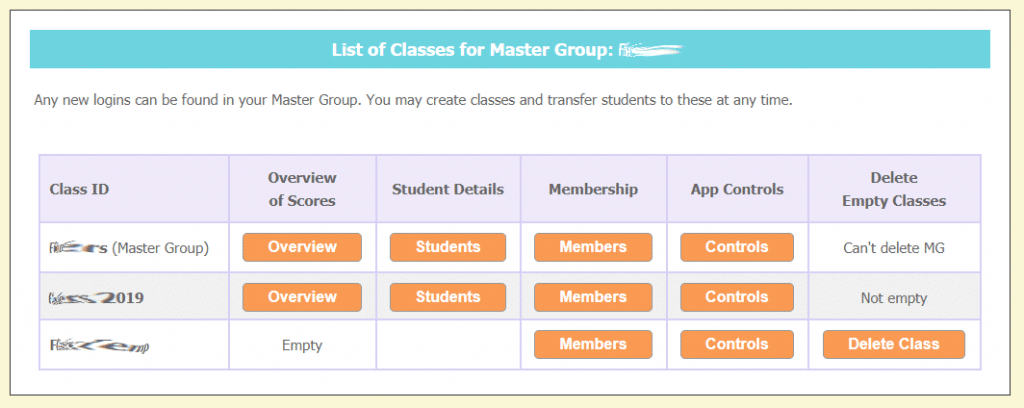
- Where are the new classes displayed?
- How do I assign students to a class?
- Can I give Logins to another user?
- How do I add administrators to a class?
- Can I send Login details home to parent?
- Can I change Usernames and Passwords?
- Can other students join my class?
- Can those with Free Logins join my class?
What is a Master Group?
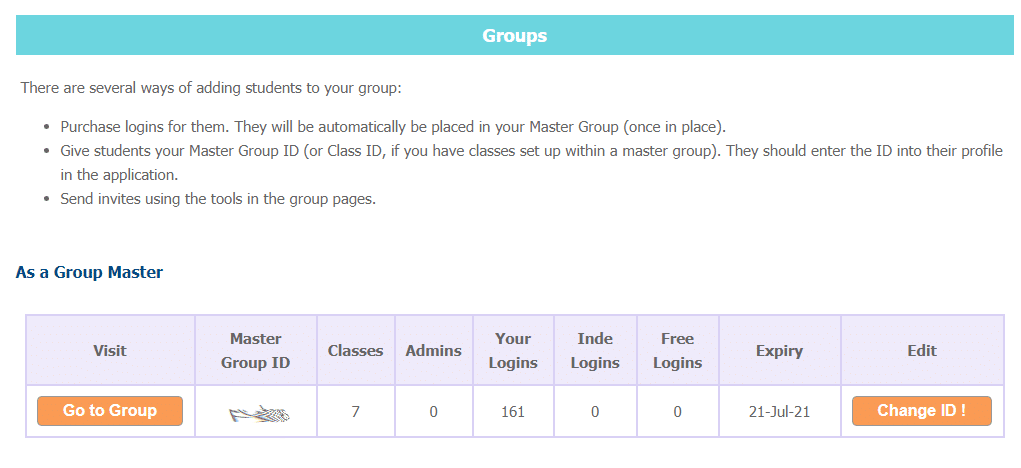
If you purchase a Teacher Login or 10+ Student Logins, you may set up a Master Group and become a Group Master. Any logins you have purchased will automatically be placed in your Master Group.
Set up a Master Group from your Account Homepage.
If you work in more than one establishment, you may set up further Master Groups and keep all these students completely separate. You will need to purchase another Teacher Login to create a new Master Group.
How do I find Student Login Details?
Once your Master Group is in place, you can start working with the Student Logins. To see the list of usernames and passwords that have been created for students:
1. Click on the Members button alongside your Master Group.
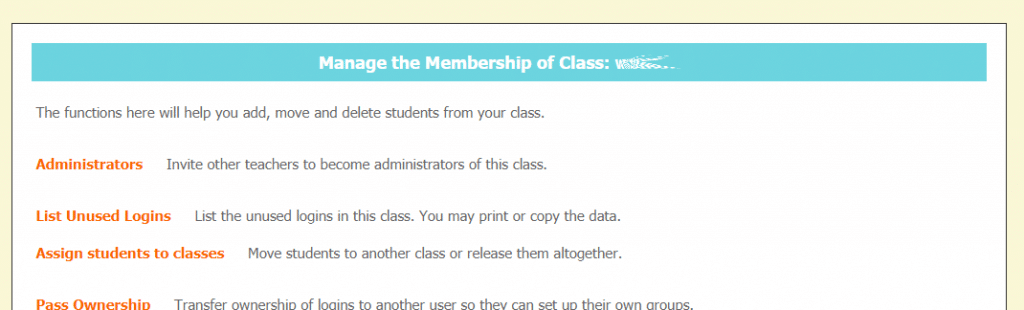
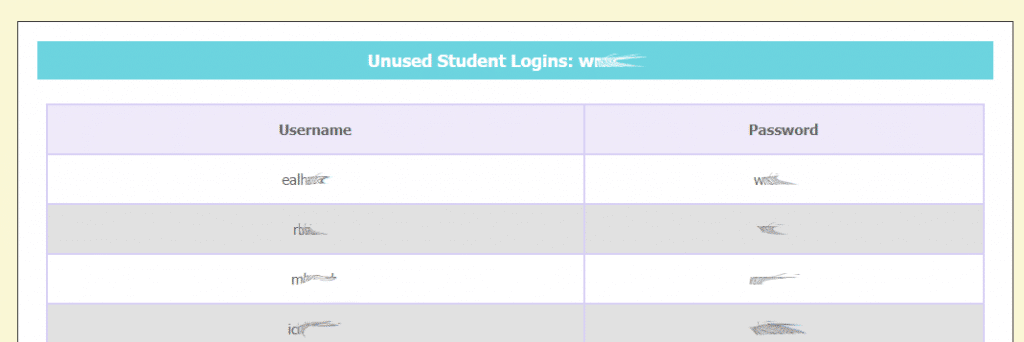
2. Select the ‘List Unused Logins’ link.
3. Print or copy and paste your login information.
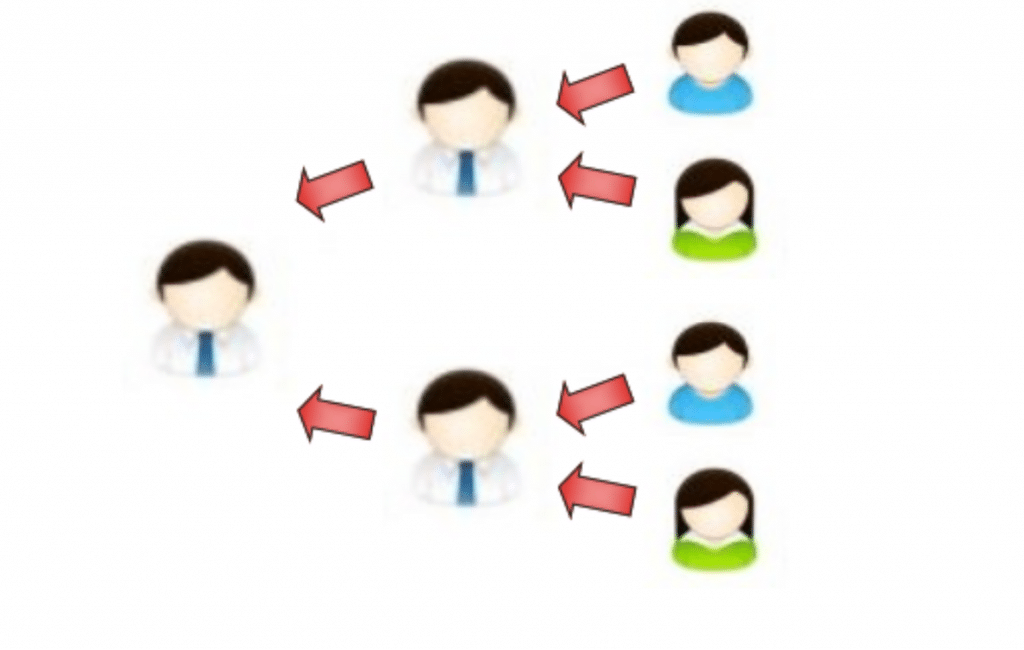
What is the group structure?
The Group Master always has control. They can create and manage classes and view the students in all classes. They can also assign students to the different classes.
New classes can be created within a Master Group. These will have their own Group ID and allow the management of only the students within that smaller group. You may manage these different classes yourself or invite other teachers to become an administrator of a particular class.
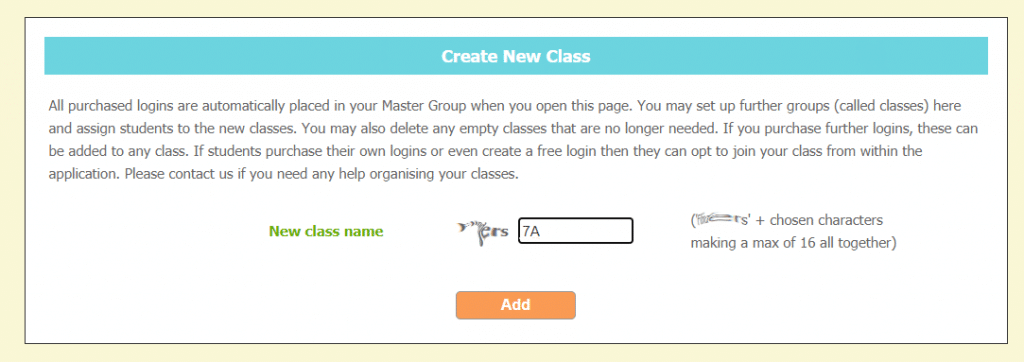
How do I add more classes?
If you have a lot of students, you may want to set up more classes and have a few students in each. Other teachers can then manage their own classes (or you can manage them yourself).
To create a new class, log in to the console and click ‘Go to Group’ alongside a Master Group you have created. The ‘Create New Class’ form can be found on the Group Homepage.
How do I assign students to a class?

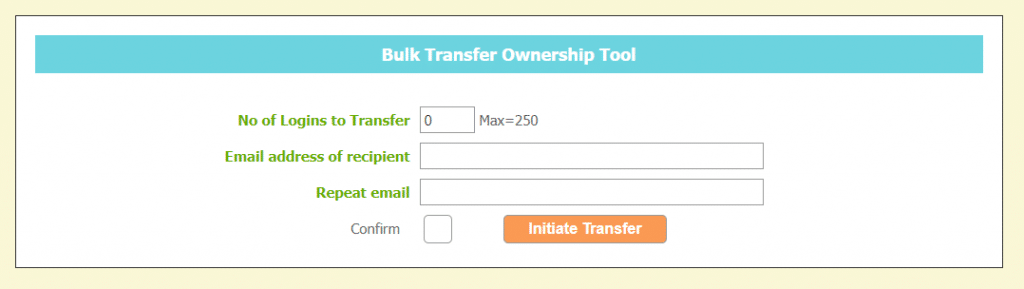
Can I give logins to another user?
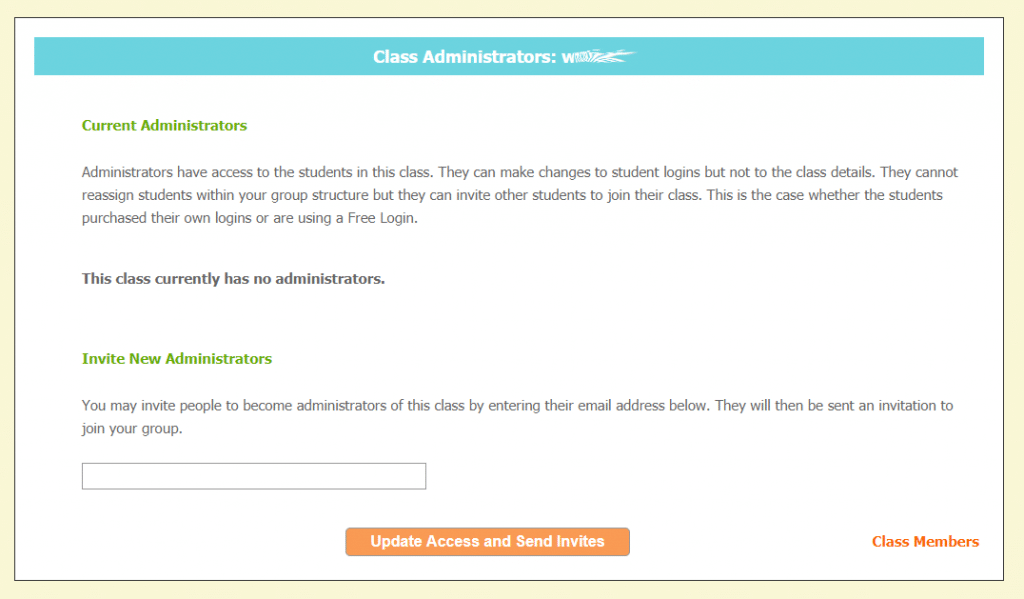
How do I add administrators to a class?
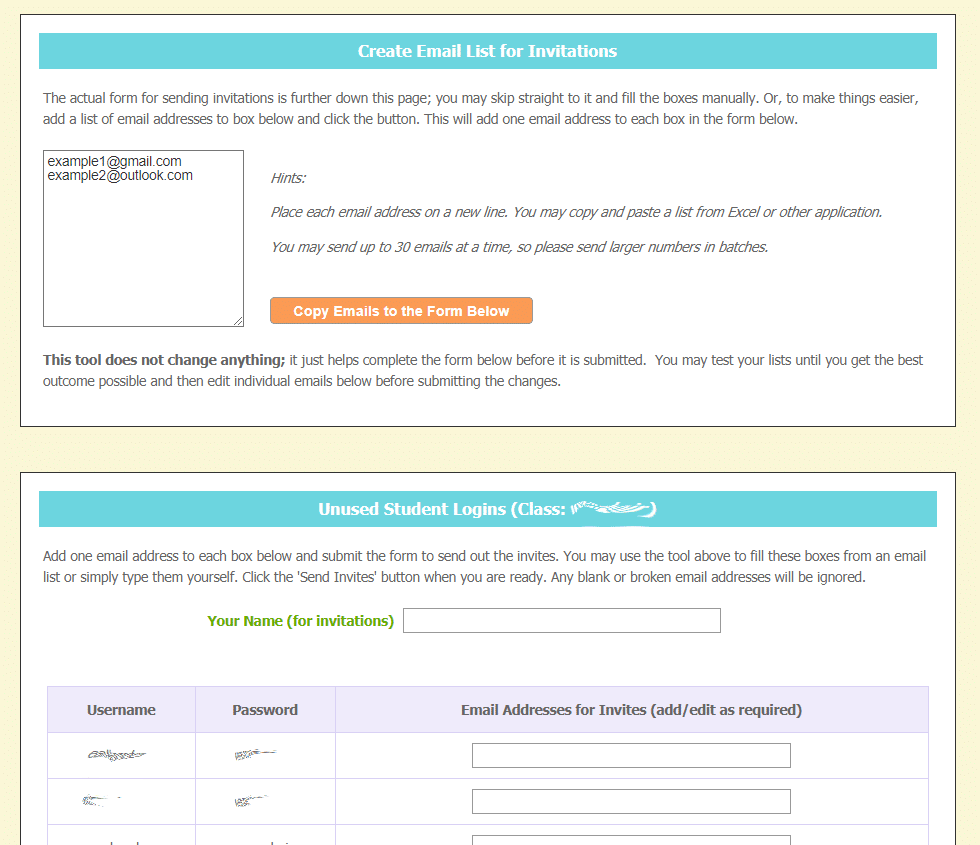
Can I send Login details home to parents?
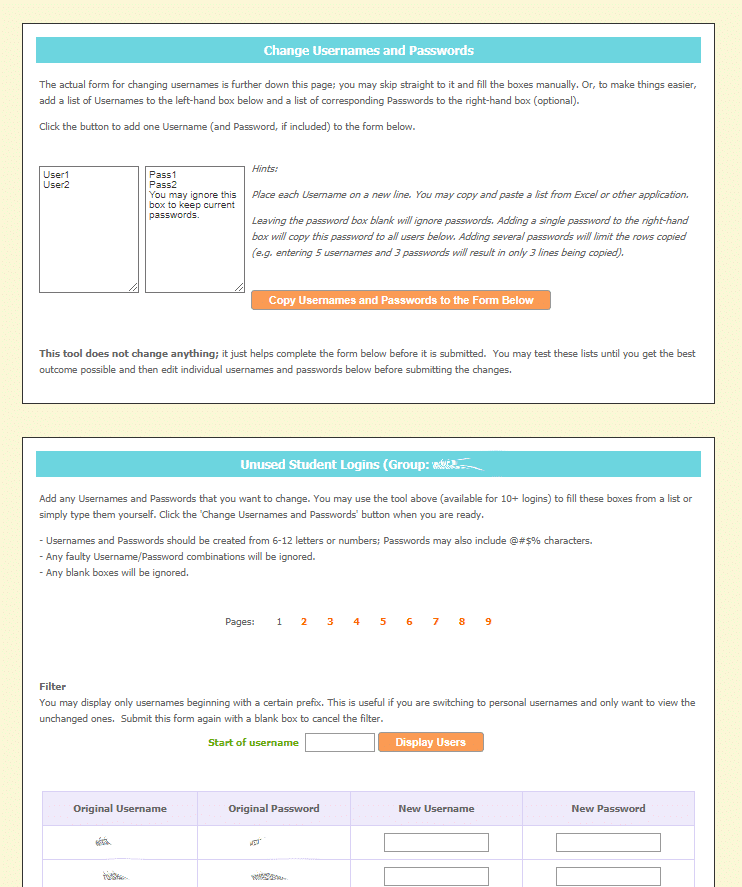
Can I change Usernames and Passwords?
Can other students join my group?
Yes – any students purchasing their own logins or using Free Logins can join your group. You will need to share a Group ID with them. Remember that if you haven’t created any classes, then this will be your Master Group ID.
Students should do the following:
1. Log into the application.
2. Click on the user menu icon in the top left of the screen.
3. Select Join Group.
4. Enter the Group ID you have given them.
